In this tutorial, I'll teach you the method that I normally use for stitching panoramics together in Photoshop CS6. Don't worry if you don't have the latest version of Photoshop. This same feature has existed the same way throughout the last several versions.
First, all you'll need is a decent camera and a steady hand. Go out somewhere and start shooting. Instead of shooting horizontally, hold your camera vertical and capture 4-5 shots while 'panning' across the subject. Keep in mind, you're stitching each of these photos, so there needs to be a little overlap in each image you shoot. I attached a screenshot below of the 5 images I captured for this panoramic. I did these hand-held, but you can use a tripod.
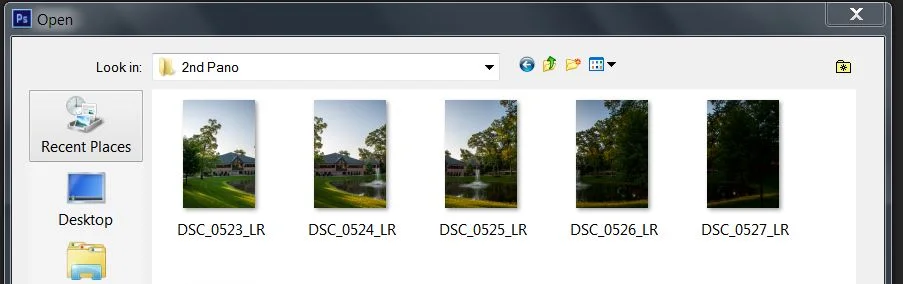

You'll see the 5 images I've taken using the 'overlap' method that I mentioned earlier. Now, open Photoshop. Go under File>Automate>Photomerge.

Another window will come up. It looks like this below.

Click Browse and select all 5 images from your shoot. Leave the layout on Auto, but make sure Geometric Distortion Correction is checked, then click ok. Watch what happens.
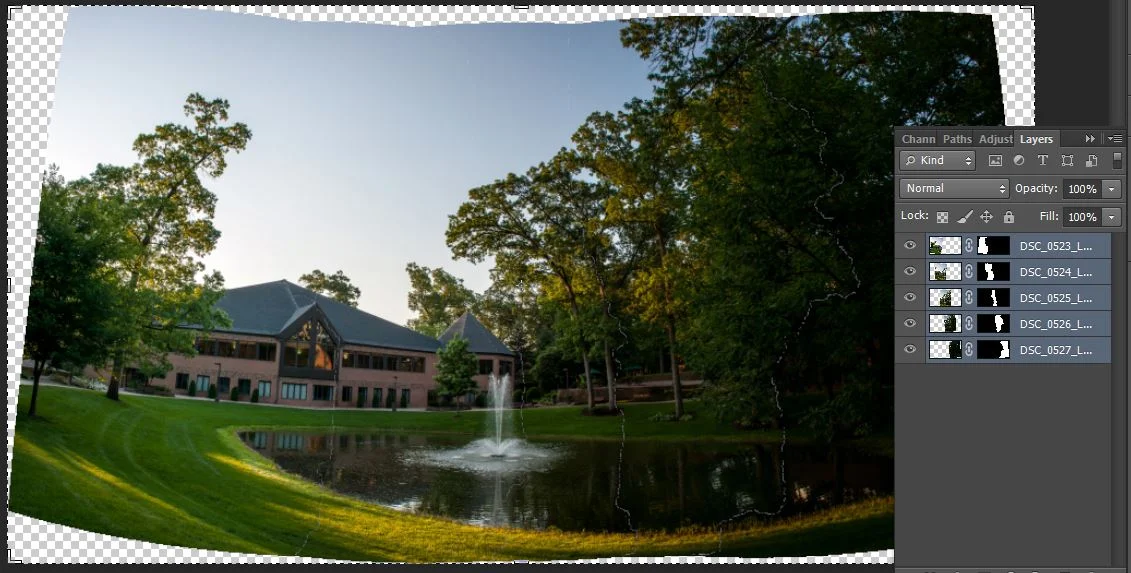
You'll see that it automatically stitched all 5 images into 1. Each of them are on their own layer with a layer mask. Now, your panoramic is stitched, but we still have some distortion from the lens capture. This comes from the curvature in the lens itself on the camera or the way you were holding it at the time of capture. It's easily corrected in Photoshop using the transform tools. Flatten your layers into one, and I generally use the warp tool to normalize the image a little. The final image can be seen below.
